An automatic sprinkler system is a convenient and efficient way to keep your lawn and garden healthy and well-watered. It can save time, conserve water, and ensure that your plants get the right amount of hydration at the right time. In this step-by-step guide, we’ll walk you through the process of setting up an automatic sprinkler system, from choosing the right components to installing and adjusting the system for optimal coverage.
1. 🛠️ Plan Your System
Before you begin installing your sprinkler system, you need to plan it carefully to ensure that every part of your lawn and garden gets sufficient water.
a. Measure Your Lawn and Garden
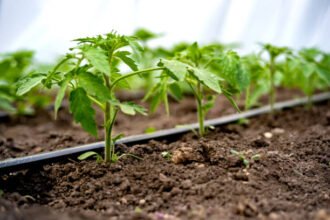
- Sketch Your Layout: Start by sketching the layout of your lawn and garden, noting areas that need water. Identify flower beds, lawns, trees, and shrubs that require different watering amounts.
- Determine the Area to Be Watered: Measure the size of the areas that need irrigation to help you calculate how many sprinklers and zones you’ll need.
b. Choose the Right Zones
- Zones: Different areas of your yard may require different watering schedules. For instance, flower beds, trees, and lawns all need different amounts of water. Divide your yard into zones based on plant types and water needs.
- Water Pressure Consideration: Consider the water pressure of your area. Most sprinkler systems require about 30-50 psi of water pressure, so check if your water supply can handle multiple sprinkler heads simultaneously.
2. 💧 Select the Right Sprinkler Heads
Choosing the correct sprinkler heads is critical to the success of your system. The type of sprinkler head you select will depend on the area and type of plants you are watering.
a. Types of Sprinkler Heads
- Fixed Spray Sprinklers: These sprinklers distribute water in a fixed pattern, making them ideal for small, rectangular or square areas like lawns and flower beds. They can be adjusted to cover specific areas.
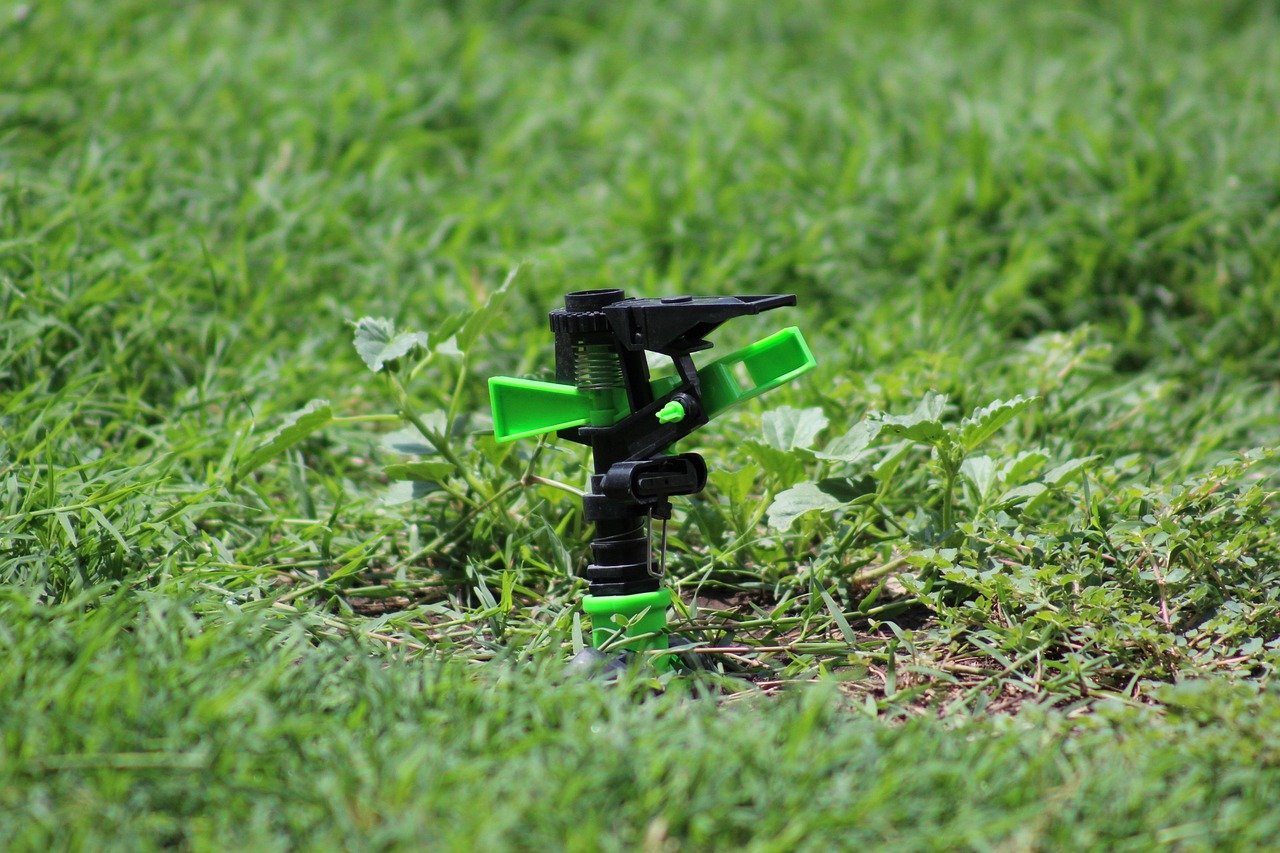
- Rotary Sprinklers: These sprinklers rotate in a circle, providing a more even water distribution. They’re great for larger, circular areas.
- Pop-Up Sprinklers: These are fixed spray or rotary sprinklers that pop up out of the ground when in use and retract when not in use. They’re excellent for lawns, as they won’t interfere with mowing.
- Drip Irrigation: For garden beds or shrubs, drip irrigation systems are ideal because they deliver water directly to the root zone, minimizing evaporation and runoff.
b. Choosing Coverage Types
- Full Circle Sprinklers: These cover a full 360-degree area, ideal for circular or round areas.
- Half-Circle and Quarter-Circle Sprinklers: These are ideal for areas that need partial coverage, such as lawns, flower beds, and around trees.
c. Calculate Flow Rate
- Each sprinkler head has a flow rate, typically measured in gallons per minute (GPM). Ensure that the sprinkler heads you choose are compatible with the water flow rate your system can handle.
3. 🔧 Install the Sprinkler System
Now that you’ve planned your layout and selected the components, it’s time to install your automatic sprinkler system.
a. Gather Necessary Tools and Materials
- Sprinkler Heads: Choose the appropriate type for your lawn and garden.
- PVC Pipes or Tubing: Use durable PVC pipes for the main supply line and flexible tubing for individual sprinkler heads.
- Backflow Preventer: This prevents contamination of your water supply by keeping water from flowing back into the main system.
- Pressure Regulator: Regulates water pressure to ensure optimal sprinkler operation.
- Timer/Controller: An automatic timer will allow you to set schedules for watering, which can be adjusted for different zones.
b. Lay Out the Main Supply Line
- Trench the Ground: Dig trenches along the areas where you want to lay the sprinkler lines. The depth of the trench should be at least 6 inches deep, ensuring that the pipes are below ground level.
- Install PVC Pipes: Connect the PVC pipes to create the main supply line, which will carry water from the source to each sprinkler zone. Use PVC pipe fittings to connect the pipes securely.
c. Connect the Sprinkler Heads
- Install Risers: Attach risers to the PVC pipes where you want to place the sprinkler heads. Risers raise the sprinkler heads above ground level, ensuring that they pop up when activated.
- Connect Sprinkler Heads: Screw the sprinkler heads onto the risers, ensuring that they are securely attached and properly aligned to water the desired areas.
d. Connect the Water Source
- Backflow Preventer: Install a backflow preventer at the water supply connection to ensure that your sprinkler system doesn’t contaminate your water source.
- Pressure Regulator: Attach a pressure regulator to ensure your sprinklers receive the correct water pressure.
4. ⏰ Install a Timer or Controller
A timer or smart controller is essential for automating your sprinkler system. With an automatic timer, you can set specific watering times, durations, and frequencies for each zone.
a. Choose a Timer
- Basic Timers: Basic timers allow you to set a simple start and stop time for each zone.
- Smart Controllers: Smart irrigation controllers allow you to set schedules, adjust watering based on weather data (such as rainfall), and even control your system remotely via a smartphone app.
b. Set Watering Schedules
- Set the system to water early in the morning or late in the evening to minimize evaporation.
- Adjust the watering schedule based on seasonal weather changes and the needs of your plants.
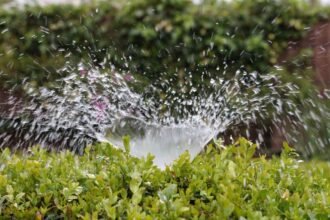
5. 💧 Test the System and Adjust Coverage
Once everything is installed, it’s time to test the system.
a. Turn On the Water
- Turn on the main water supply to the sprinkler system and check for any leaks, clogs, or issues with water pressure. Make sure the water is flowing freely to all the sprinkler heads.
b. Adjust Sprinkler Heads
- Adjust Spray Angles: If necessary, adjust the sprinkler heads to cover the areas that need water. For rotary sprinklers, adjust the rotation distance and spray pattern.
- Check Coverage: Walk around the garden and lawn while the system is running to ensure that each zone is getting adequate coverage. Adjust the sprinkler heads and risers if needed to ensure complete coverage of your garden and lawn.
6. 🧰 Ongoing Maintenance and Adjustments
After installation, your sprinkler system will need regular maintenance to keep it in optimal working condition.
a. Clean Sprinkler Heads
- Clean the sprinkler heads regularly to prevent clogs caused by dirt, grass, or mineral build-up.
b. Winterize the System
- If you live in a colder climate, ensure you winterize your sprinkler system before the first freeze. This involves draining the water from the pipes and sprinkler heads to prevent them from freezing and cracking.
c. Adjust for Seasonal Changes
- As the seasons change, adjust your watering schedule. In hot months, your lawn may need more frequent watering, while in cooler months, watering can be reduced.
7. 🌿 Conclusion
Setting up an automatic sprinkler system for your lawn and garden is an excellent way to save time, conserve water, and ensure that your plants receive consistent hydration. By carefully planning the layout, choosing the right sprinkler heads, and installing a timer, you can enjoy a lush, healthy garden with minimal effort. With regular maintenance and seasonal adjustments, your sprinkler system will provide reliable watering year-round, promoting the growth of a beautiful garden or lawn. 🌱 Happy gardening!